How to Wire LED Strip Lights: Feed Points, Gauge and Run Length
By DENO LED Lighting ·
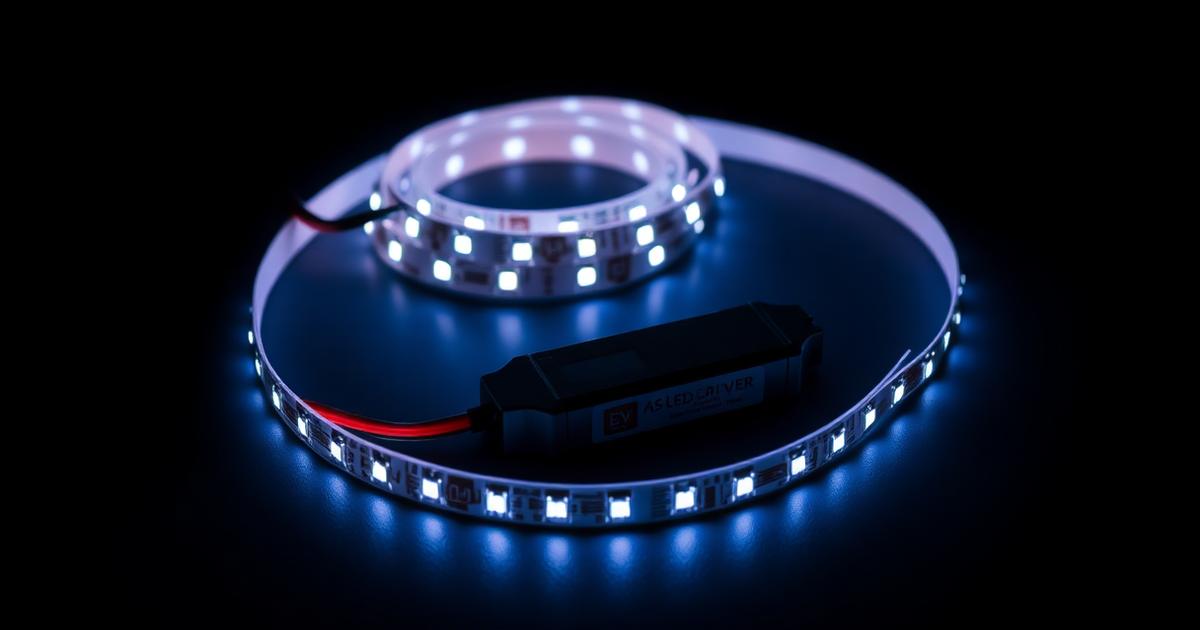
Single-end, both-ends or mid-feed — how each wiring method changes maximum run length, what wire gauge to use, and how to size the driver for a 24V or 48V LED strip light.
Wiring an LED strip light is not just about polarity. The feed method decides how long the run can be before the far end visibly dims — and that is the failure most often blamed on "bad strips".
Three legal feed methods
Single-end feed — power enters at one end. Simplest, but the full run length carries the full current, so voltage drop is worst.
Both-ends feed — power enters at both ends from the same driver. Each half carries half the run, so the effective electrical distance is L/2 and you can roughly double the run.
Mid-feed (any mid-strip tap) — power enters at a point in the middle. Electrically identical to both-ends: each side sees L/2. On our constant-current strips, every segment has its own IC, so a tap at any cut point is valid.
Wire gauge matters more than people expect
The lead wire between driver and strip is part of the same circuit. On a 5m run at 14.4W/m, the tail alone can eat several percent of the supply voltage if it is undersized. As a working rule: use 20AWG for short tails under 300mm, 18AWG for longer tails, and step up again for any run over 2m of lead wire.
Higher voltage is the easiest way to a longer run
Doubling the supply voltage halves the current for the same power, which cuts voltage drop by roughly a factor of four. That is why long architectural runs move to 48V LED strip lights or 36V LED strip lights . For single uninterrupted runs of 10m to 20m, look at ultra-long LED strip lights , which combine higher voltage with heavier copper.
Constant current vs constant voltage
On a plain constant-voltage strip, brightness falls as voltage drops along the run. On a built-in IC constant-current strip , each segment regulates its own current, so the output stays flat until the segment runs out of headroom. For long runs with strict colour and brightness uniformity, constant current is the right answer.
Sizing the driver
Total load = W/m x metres. Add 20% headroom so the driver is not running at 100% continuously — that headroom is the cheapest lifespan you can buy. Confirm the exact figures for your layout with our wiring and voltage-drop calculator , which models single-end, both-ends and mid-feed side by side.
Before you install
Fix the feed method on the drawing, not on site. Send us the run lengths and we will confirm the copper weight, feed points and driver schedule for any model in the LED strip light catalogue .